Easy Tricks For How To Screenshot On Mac In Seconds
A busy Mac screen can turn a simple capture into a tiny scavenger hunt. Knowing how to screenshot on a Mac helps me save ideas, share errors, explain steps, and keep my workspace clean without opening extra apps or losing focus.
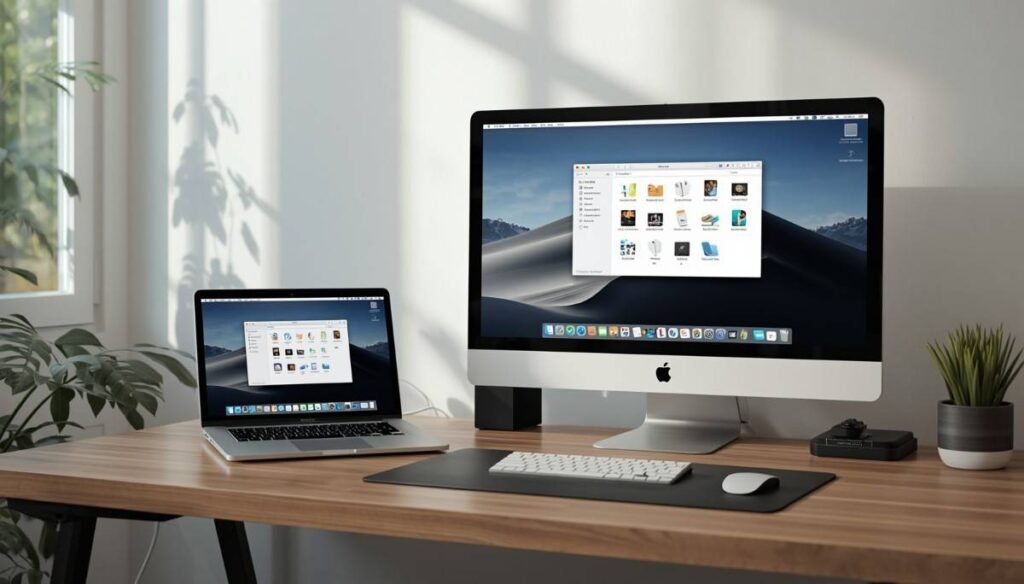
Screenshots also support better window management. Arrange your apps, hide distractions, choose the right capture mode, and your screenshot becomes clearer, safer, and easier to share.
What A Screenshot On Mac Does?
Screenshots are the Mac version of “look here.” They save time, reduce confusion, and stop simple explanations from becoming tiny novels.
For work, study, support, and remote collaboration, one screenshot can show an issue, layout, receipt, setting, or idea faster than a long message.
Quick Screenshot Basics
Most Mac screenshots save to the Desktop with a date-and-time file name. You can also copy the image to the clipboard by adding the Control key.
The main shortcuts use Command, Shift, and a number key. Command + Shift + 3 captures the whole screen, Command + Shift + 4 selects an area, and Command + Shift + 5 opens the Screenshot menu.
Clean Your Screen First
A screenshot is only as clear as the workspace behind it. Before capturing, close private chats, move unrelated windows, and keep the main app visible.
This habit protects sensitive information and makes Mac screenshots look more professional in tutorials, reports, and client messages.
Capture The Entire Screen
Full-screen capture is best when you need to show everything visible on your Mac display, such as dashboards, system settings, presentations, or multi-window context.
Press Command + Shift + 3. Your Mac instantly captures the full screen and saves the image to the Desktop unless your save location has been changed.
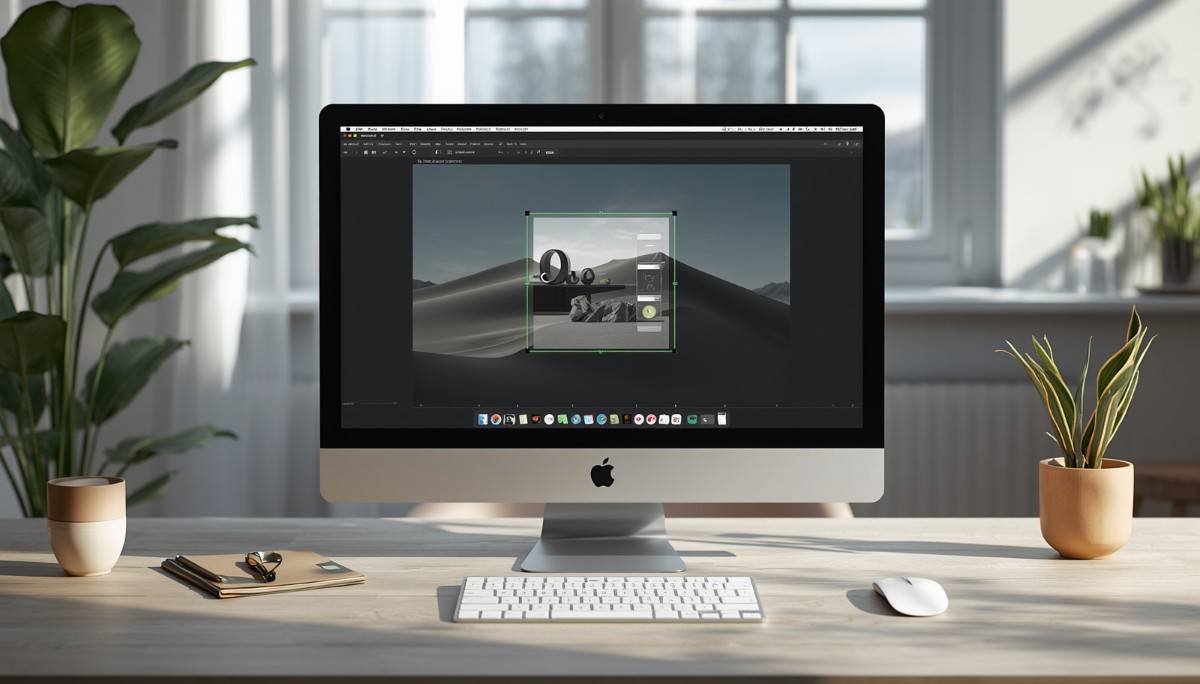
Capture A Selected Portion
Selected-area capture is the Mac snipping shortcut most people use every day. It captures only the detail that matters without showing the entire Desktop.
Press Command + Shift + 4. Your pointer becomes a crosshair. Click, drag over the area you want, and release to save that selected portion.
Snip Only What Matters
This method is perfect for an error message, form field, chart, paragraph, image section, or button. It keeps the screenshot focused and easy to read.
While dragging, hold the Space bar to move the selection box without resizing it. Press Escape before releasing if you want to cancel.
Capture A Window Or Menu
Window capture is the cleanest option for app-focused screenshots. It is ideal for tutorials, support replies, product notes, and blog visuals.
Press Command + Shift + 4, then press the Space bar. Your cursor becomes a camera icon. Move it over the window, menu bar, or Dock area, then click.
Make It Look Polished
macOS captures the selected window with a soft drop shadow, which helps the window stand out and gives the image a finished look.
Hold Option while clicking if you want to remove the shadow. This creates a flatter screenshot for guides, documents, and workspace examples.
Pair It With Window Management
This method works well after arranging your Mac windows. Put Safari, Finder, Notes, Mail, or your main app in position, then capture only that window.
It avoids exposing unrelated apps and keeps the viewer focused, which is why selected-window capture is usually better for professional sharing.
Open The Screenshot Menu
The Screenshot menu gives you every capture option in one place. It is ideal when you want visual controls instead of memorizing every shortcut.
Press Command + Shift + 5. The built-in macOS Screenshot panel appears at the bottom of the screen with tools for screenshots and screen recordings.
Pick A Capture Mode
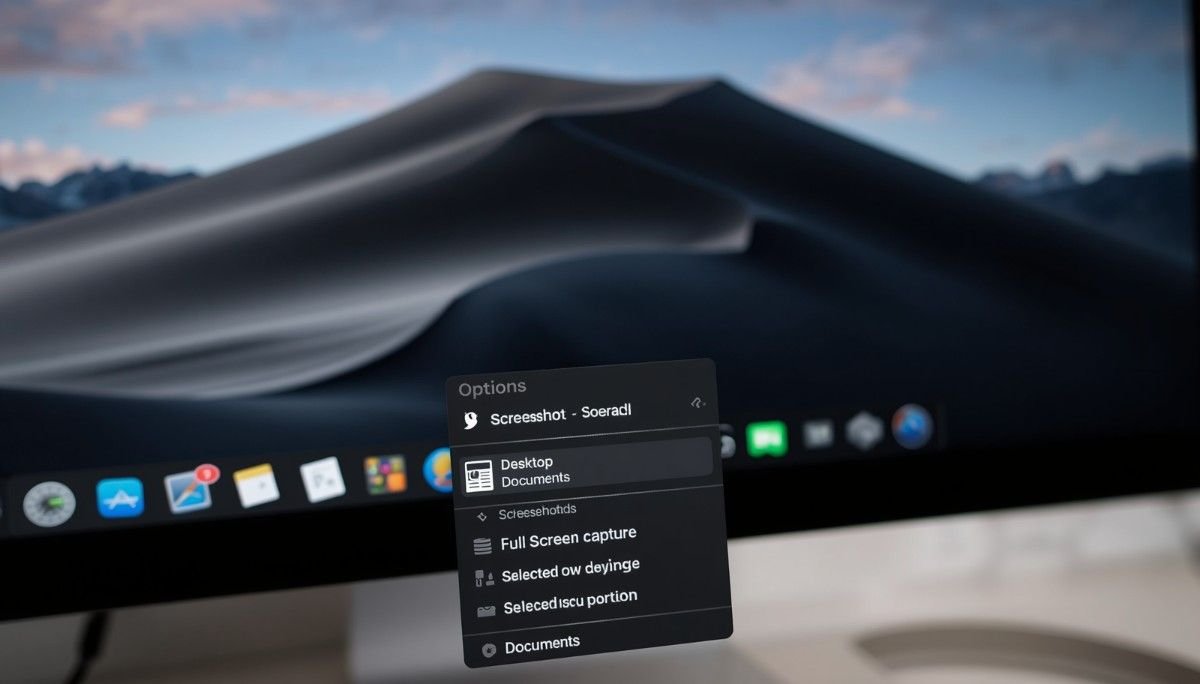
The panel lets you capture the full screen, a selected window, or a selected portion. It also helps beginners choose the right mode quickly.
Use Options to choose where screenshots save. You can send them to Desktop, Documents, Clipboard, Mail, Messages, Preview, or another folder.
Record The Screen
The same panel can record the full screen or a selected portion. This helps when one still image cannot explain a workflow clearly.
Use screen recording for app layouts, bug reports, software tutorials, window arranging steps, and quick training clips.
Copy Instead Of Save
Not every screenshot needs to become another Desktop file. Clipboard screenshots are faster when you only need to paste and move on.
Add Control to your shortcut. Command + Control + Shift + 3 copies the full screen, while Command + Control + Shift + 4 copies a selected area.
Snip And Paste Faster
To snip and paste, press Command + Control + Shift + 4. Drag over the area, release, then paste it anywhere with Command + V.
This is excellent for daily office work because you can capture from one window and paste into another without searching for a saved image.
Use The Floating Thumbnail
After taking a screenshot, macOS briefly shows a small thumbnail in the bottom-right corner. Click it if you want quick editing.
The thumbnail lets you crop, annotate, rotate, delete, or share the image immediately, so you do not have to find the file manually.
Find Your Screenshots
Screenshots are easy to take but easy to lose when you capture often. Most Mac screenshots appear on the Desktop by default.
Look for files named “Screenshot” or “Screen Shot” followed by the date and time. If they are missing, the save location was probably changed.
Check The Save Location
Press Command + Shift + 5, then click Options. The Save To setting shows where your screenshots currently go.
For a cleaner Mac workspace, create a dedicated Screenshots folder. It keeps your Desktop tidy and makes older captures easier to find.
Frequently Asked Questions
1. How Can I Capture A Screenshot On My Mac?
For how to screenshot on a mac, press Command + Shift + 3 for the full screen, Command + Shift + 4 for a selected area, or Command + Shift + 5 for the Screenshot menu.
2. How Do You Snip And Paste On A Mac?
To snip and paste on a Mac, press Command + Control + Shift + 4, drag over the area you need, release, then paste it into your app with Command + V.
3. How Do You Ctrl Screenshot On A Mac?
A Ctrl screenshot on Mac means adding the Control key to a screenshot shortcut. It copies the image to your clipboard instead of saving it as a file.
4. How Do I Go To My Screenshots On Mac?
Go to your Desktop first because Mac screenshots are usually saved there. You can also press Command + Shift + 5, click Options, and check the selected save location.
Snap Happy, Stay Tidy
Learning how to screenshot on mac is a small skill with a big productivity payoff. Once you know the full-screen, selected-area, window, menu, clipboard, and Screenshot panel options, you can capture cleaner images in less time.
Arrange your windows first, share only what matters, and keep your Mac workspace neat while you work. The better your layout looks before capture, the better your screenshot looks after.