How To Create Custom Layouts: A Step-By-Step Guide For Beginners
Have you ever opened a website, presentation, dashboard, or document and immediately felt that everything was exactly where it should be? Good layouts create that experience. They make information easier to understand, help users navigate quickly, and reduce unnecessary distractions.
The problem is that many people rely on default templates that were designed for a broad audience rather than their specific needs. While templates can be useful, they often limit flexibility. Learning how to create custom layouts gives you control over how content, visuals, and interactive elements work together. Whether you’re designing a website, building a presentation, or organizing a workspace, a custom layout can improve both appearance and usability.
What Are Custom Layouts And Why Do They Matter?
Custom layouts are personalized structures that determine how content appears on a page or screen. Instead of accepting a pre-made arrangement, you decide where text, images, navigation elements, and other components belong.
A well-designed custom layout improves readability, supports better navigation flow, and helps users focus on the most important information first. It also creates a more professional appearance because every element serves a purpose rather than simply filling available space.
When businesses, creators, and professionals invest time in layout customization, they often discover that small changes can significantly improve workflow optimization and audience engagement.
Signs You Need A Better Layout
Many people continue using layouts that no longer match their needs. If you notice any of the following issues, it may be time to redesign your setup:
- Important information gets buried beneath less relevant content.
- Users struggle to find commonly used tools or features.
- Pages feel cluttered or overwhelming.
- Visual elements appear inconsistent.
- Navigation requires too many clicks or steps.
- Content lacks clear visual hierarchy.
Recognizing these problems early makes it easier to create a more efficient and user-friendly structure.
How To Create Custom Layouts Step By Step

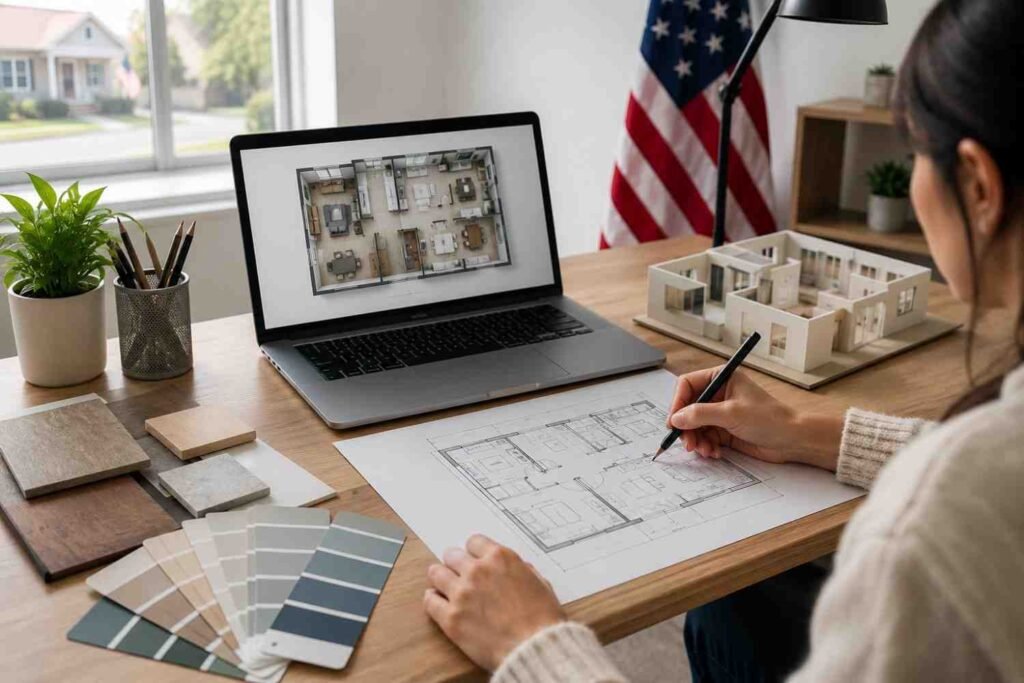
Step 1: Define Your Requirements
Before opening any design software, spend time identifying what the layout must accomplish.
Start by defining your primary objective. Ask yourself what action, message, or piece of information should receive the most attention. This goal will guide every design decision that follows.
Next, identify any constraints. If you’re creating a website, know your screen dimensions and responsive requirements. If you’re designing print materials, understand paper sizes and margin requirements. Collect all necessary assets, including images, logos, text, and graphics, before beginning the design process.
Many experienced designers also create rough wireframes on paper. Simple sketches allow you to test ideas quickly without getting distracted by colors, fonts, or decorative elements.
Step 2: Establish A Strong Grid System
A grid acts as the invisible framework that keeps your layout organized.
Once your document dimensions are set, establish margins around the edges. Proper margins create breathing room and prevent content from feeling cramped.
For digital projects, a 12-column grid often provides flexibility for complex layouts. Simpler projects may only require a two- or three-column structure. Whatever system you choose, consistency matters more than complexity.
Define gutters, which are the spaces between rows and columns. Consistent spacing improves user interface organization and creates a cleaner visual experience.
Step 3: Build A Clear Visual Hierarchy
Visual hierarchy determines where users look first.
Place your most important content in a prominent position. This may be a headline, featured image, call-to-action, or key message. Larger elements naturally attract attention, so use size strategically.
Color contrast also plays a critical role. Bright colors can highlight important actions, while neutral tones help supporting content remain readable without competing for attention.
Grouping related content together is equally important. Users should not have to search for information that belongs together. When text and visuals are positioned logically, navigation becomes more intuitive and efficient.
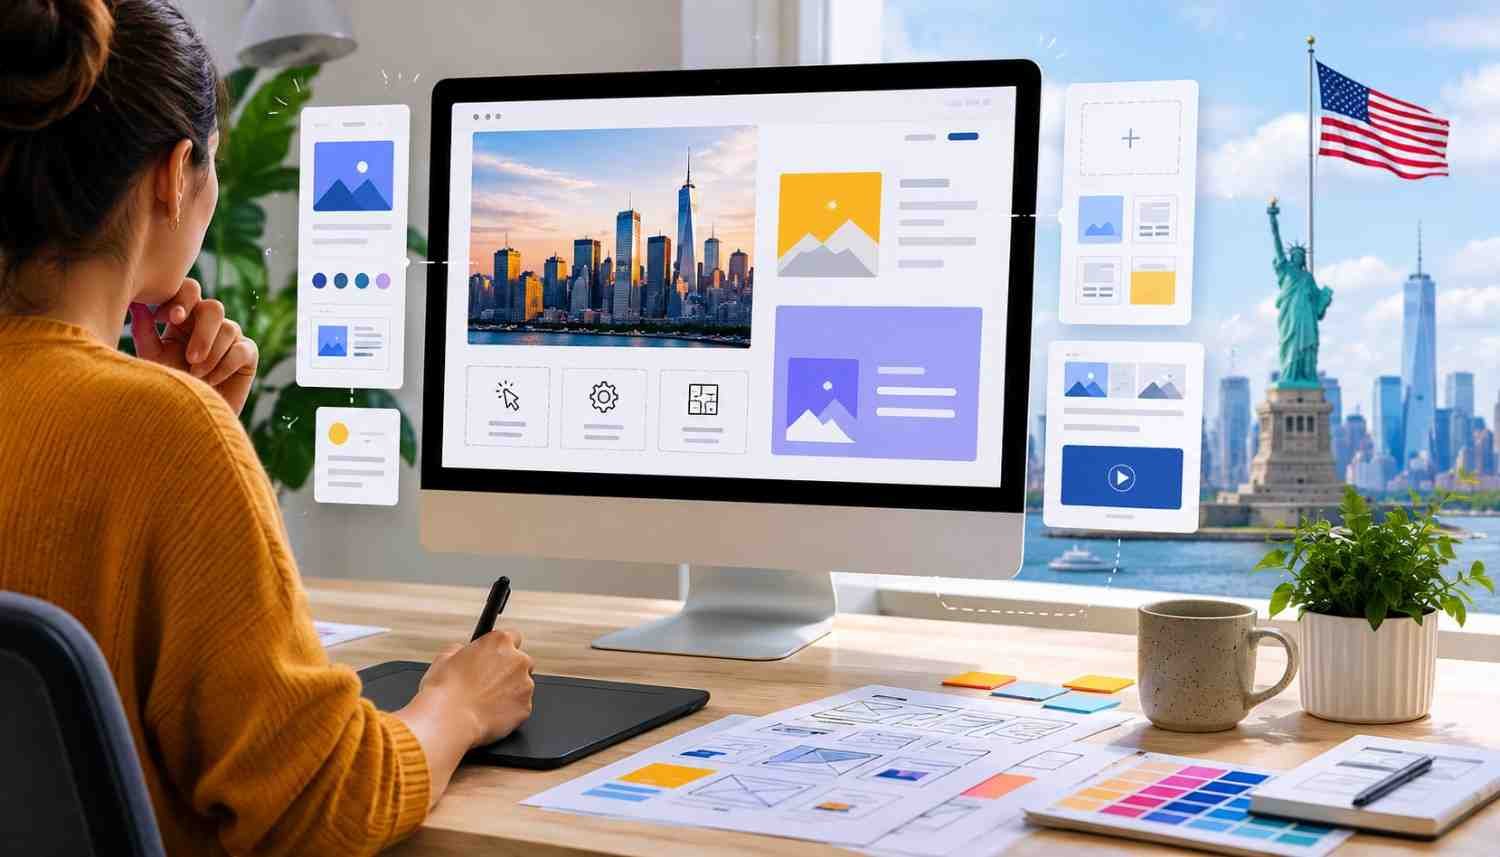
Step 4: Arrange And Customize Elements
Now it’s time to move beyond planning and begin building the actual layout.
Place elements according to your established structure. Avoid the temptation to fill every available space. One of the most common beginner mistakes is adding too many components simply because there is room for them.
Customization should always support functionality. For example, when learning how to use advanced app features, placing frequently accessed tools in prominent positions can reduce navigation time and create a smoother workflow.
Remember that layout customization is not about adding more elements. It is about arranging the right elements in the right places.
Step 5: Refine Spacing And Alignment
This is the stage where layouts begin to look professional.
Negative space, often called white space, plays a major role in readability. Leaving intentional gaps between sections helps users process information more comfortably.
Align every component to your grid whenever possible. Consistent alignment creates visual order and prevents layouts from feeling random.
Pay attention to spacing between headings, images, paragraphs, and content blocks. If one section uses a certain amount of padding, similar sections should follow the same pattern. Consistency strengthens the overall design.
Step 6: Test And Improve
No layout is perfect on the first attempt.
Review your design carefully and test it under realistic conditions. Read text from different viewing distances. Click through navigation paths. Examine how the layout performs on different screen sizes if you’re creating digital content.
For web projects, check responsiveness and ensure that content reorganizes effectively on tablets and mobile devices. For print projects, review exported files before final production.
Testing often reveals small issues that were difficult to notice during the design phase.
Practical Tips For Building Better Custom Layouts
Creating effective custom layouts becomes easier when you follow a few practical principles:
- Prioritize function before appearance.
- Use consistent spacing throughout the design.
- Keep navigation simple and predictable.
- Limit the number of focal points on a page.
- Maintain visual balance across sections.
- Review layouts from a user’s perspective rather than your own.
These habits help create layouts that feel natural instead of forced.
Common Mistakes Beginners Should Avoid
One of the biggest mistakes beginners make is designing without a clear plan. Jumping directly into software often leads to disorganized layouts that require extensive revisions later.
Another common issue is ignoring visual hierarchy. When every element looks equally important, users don’t know where to focus their attention.
Overusing colors, fonts, or graphics can also weaken a layout. Simplicity usually improves communication because it reduces cognitive load.
Finally, many people skip testing. A layout may look excellent during development but reveal usability issues once real users begin interacting with it.
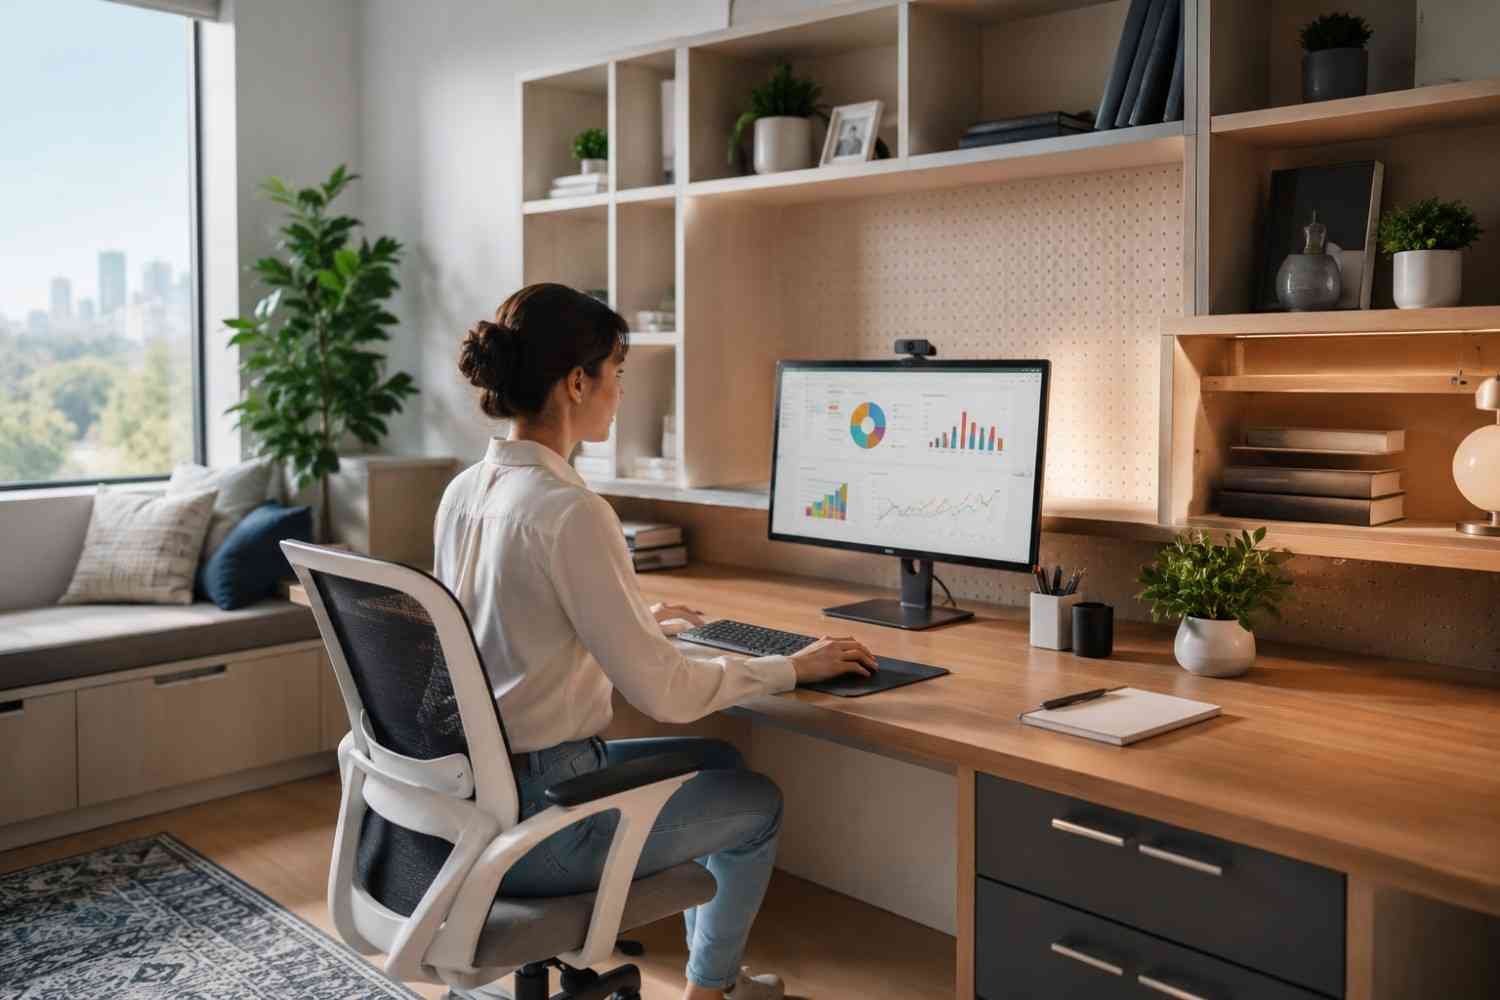
How Custom Layouts Improve Everyday Productivity

Custom layouts do more than improve aesthetics. They can have a direct impact on efficiency.
A personalized workspace setup reduces time spent searching for information. Clear navigation flow minimizes confusion. Better content organization helps users complete tasks faster.
Over time, these small improvements add up. Whether you’re managing projects, presenting information, publishing content, or building digital experiences, a thoughtful layout can support smoother daily operations.
The best layouts often feel invisible because users can focus entirely on their goals rather than figuring out how the interface works.
Frequently Asked Questions: How To Create Custom Layouts: A Step-By-Step Guide For Beginners
1. How Long Does It Take To Create A Custom Layout?
Simple layouts can often be completed in a few hours. More complex projects may require several rounds of planning, testing, and refinement before they are finalized.
2. Can Beginners Create Effective Custom Layouts?
Yes. Beginners can create strong layouts by following basic principles such as grid systems, visual hierarchy, consistent spacing, and user-focused organization.
3. What Software Can Be Used For Custom Layout Design?
Popular options include Figma, Canva, Adobe InDesign, Adobe XD, PowerPoint, and various website builders that support layout customization.
4. How Often Should A Layout Be Updated?
Layouts should be reviewed whenever user needs, content requirements, or project goals change. Regular adjustments help maintain efficiency and relevance.
Why The Best Layouts Continue To Evolve
The most effective custom layouts are rarely created in a single session. They develop over time as designers learn more about user behavior, workflow patterns, and content priorities. What works today may need adjustments tomorrow, especially when projects grow or audiences change. The goal is not perfection from the start. The goal is to create a structure that supports clear communication and adapts when necessary.
A custom layout should feel intentional, organized, and easy to use. When every element has a purpose, the entire experience becomes stronger.