How to Place Apps Side by Side on Mac Without Chaos

If your Mac screen feels crowded, the fastest fix is not opening fewer apps. It is learning how to place apps side by side on Mac so each window has a clear job.
I use this most when writing, checking research, comparing files, or keeping notes beside a browser. The right side-by-side setup saves clicks, reduces window hunting, and keeps the desktop from turning into a tiny disaster zone.
Why Side-by-Side Apps Feel Faster on Mac
A messy screen slows down simple work. When Safari hides behind Notes, Mail covers Calendar, or Slack keeps jumping in front, your attention breaks every few seconds.
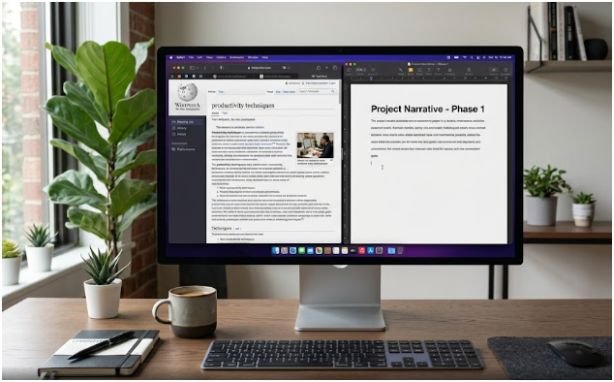
Side-by-side viewing solves that problem. You can keep one app for action and one app for reference. For example, I often place a browser on the left and a document editor on the right. That layout lets me read, write, compare, and edit without dragging windows all day.
Apple gives Mac users two main native options. Split View puts two apps into a focused full-screen workspace. Window tiling, available on newer macOS versions, lets you snap windows on the desktop without fully entering Split View.
Both methods work, but they suit different habits.
How to Place Apps Side by Side on Mac With Split View
Split View is the cleanest built-in method when you want two apps only. It removes most desktop distractions and gives each app half the screen.
Step 1: Start With the Green Button
Open the first app you want to use. Move your cursor to the green button in the top-left corner of the window. Do not click it immediately.
A small menu appears. Choose Tile Window to Left of Screen or Tile Window to Right of Screen. The app moves into that side of the display.
This is the classic answer to how to place apps side by side on Mac because it works well for focused two-app work.
Step 2: Pick the Second App
After the first app moves to one side, your Mac shows other open windows on the empty side. Click the second app you want to use.
Now both apps share the screen. You can work in either one by clicking inside it. This setup is great for writing beside research, watching a tutorial beside notes, or comparing two documents.
Step 3: Adjust the Divider
The black divider between both apps controls the width. Drag it left or right until the layout feels comfortable.
I rarely keep both windows perfectly equal. For writing, I give my editor more room. For research, I give the browser more space. That small adjustment makes Split View feel less rigid.
To exit Split View, move your cursor to the top of the screen. Click the green button again on the window you want to return to normal view.
How to Use Window Tiling on macOS Sequoia
If your Mac runs macOS Sequoia or later, window tiling gives you another easy option. This feels closer to snapping windows on a Windows PC.
Instead of entering a full-screen workspace, you can arrange app windows directly on your desktop. This is useful when you want side-by-side apps but still need access to other windows, desktop items, the Dock, or the menu bar.
Drag Windows to the Screen Edge
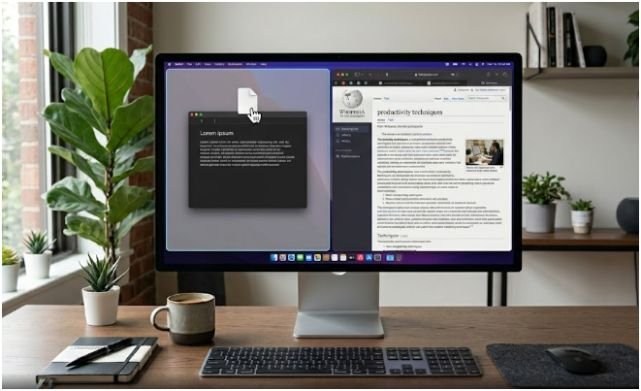
Click and hold the top of an app window. Drag it to the left or right edge of the screen. When a preview outline appears, release the window.
The app snaps into place. Then repeat the same action with another app on the opposite side.
This method is faster than Split View when I am moving between several apps. It keeps the desktop flexible instead of locking me into a full-screen Space.
Use the Option Key for Faster Tiling
For quicker control, hold the Option key while dragging a window toward the left, right, top, or corner of the screen. Release the window when the highlighted area appears.
This feels more intentional because the window tiles only when I press the key. If you dislike accidental snapping, check your window tiling settings under System Settings, then Desktop & Dock.
Split View vs Window Tiling: Which One Should You Use?
Split View is best when you want a quiet two-app workspace. It hides clutter and helps you focus.
Window tiling is better when you need a flexible desktop. You can place apps side by side, keep other windows nearby, and avoid switching Spaces.
My simple rule is this: use Split View for deep work and window tiling for active multitasking. If I am writing a long article, Split View works better. If I am managing email, files, browser tabs, and calendar checks, tiling feels faster.
That is the practical difference many basic tutorials miss.
My Tested Side-by-Side Layouts for Real Work
Knowing the steps is useful. Knowing which apps to pair saves more time.
Writing and Research Layout
Place Safari or Chrome on the left and your writing app on the right. Keep the browser slightly narrower if you are drafting. Keep it wider if you are comparing sources.
This layout works well for blog writing, academic notes, content editing, and research-heavy tasks.
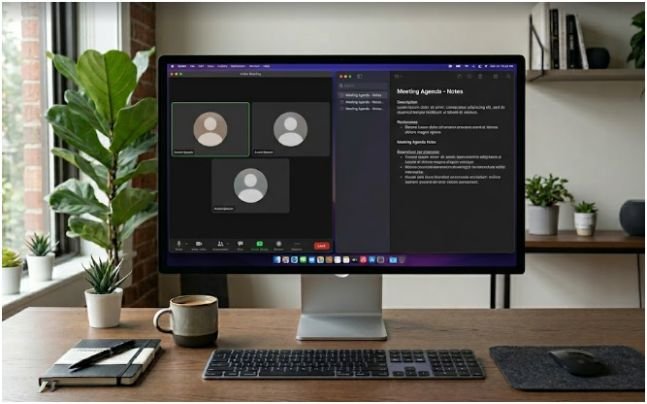
Meeting and Notes Layout
Place Zoom, Google Meet, or FaceTime on one side. Put Notes, Notion, Docs, or Calendar on the other side.
I like this setup because it keeps meeting notes visible without covering the video call. It also looks cleaner if you need to share your screen.
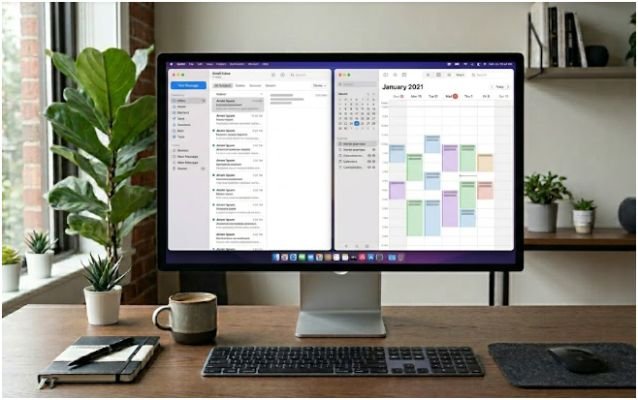
Email and Calendar Layout
Place Mail or Gmail on one side and Calendar on the other. This helps when scheduling calls, checking deadlines, or responding to appointment requests.
Instead of switching back and forth, you can confirm availability while replying. It is a small workflow upgrade, but it feels huge during a packed workday.
Why Split View May Not Work
Sometimes Split View does not behave as expected. The most common issue is that an app does not support full-screen mode. Some utility apps, older apps, or small floating windows may not tile properly.
Another issue is macOS settings. Open System Settings, go to Desktop & Dock, and check your window behavior options. On some setups, window tiling or full-screen behavior may feel different depending on your macOS version.
Also, make sure both apps are already open. Split View works best when the second app has an active window ready to select.
If the green button only maximizes the window, hover over it longer or hold the Option key to reveal different window options.
When a Native Mac Setup Is Not Enough
Apple’s built-in tools are good for basic layouts. But they can feel limited if you use multiple monitors, repeat the same app positions daily, or need more than two zones.
That is where a dedicated Mac split screen alternative app can help. A window manager gives you more control over custom layouts, repeated workspaces, keyboard shortcuts, and multi-window arrangements.
For example, if you always open a browser, notes app, task manager, and chat app every morning, manual tiling becomes repetitive. A smarter layout tool can reduce that setup time.
Native tools are fine for casual use. Power users usually need more structure.
FAQs
1. How do I place two apps side by side on a MacBook?
Use Split View by hovering over the green button, choosing a side, then selecting the second open app.
2. Can I place apps side by side on Mac without full screen?
Yes, macOS Sequoia window tiling lets you drag windows to screen edges without entering full-screen Split View.
3. Why can’t I use Split View on some Mac apps?
Some apps do not support full-screen mode, so they may not appear as available Split View options.
4. What is the easiest way for how to place apps side by side on Mac?
The easiest method is Split View: hover over the green button, choose left or right, then select another open window.
Final Take: Make Your Mac Behave, Not Beg
I do not like fighting my desktop just to do simple work. Once I learned how to place apps side by side on Mac, my screen started feeling calmer and faster.
Start with Split View when you need focus. Use window tiling when you want flexibility. If you repeat the same layouts every day, try a window manager and stop rebuilding your workspace like it owes you rent.