How to Create Custom Workspace Layouts on Mac
I used to waste several minutes every morning reopening the same apps, dragging browser windows into place, resizing notes, checking messages, and setting up my work screen from scratch. It felt small at first, but that repeated setup became a real productivity leak. Once I learned How to Create Custom Workspace Layouts on Mac, my desktop started feeling more organized, predictable, and easier to use.
A custom workspace layout is not just about making your screen look neat. It is about creating a repeatable setup for the way you actually work. Whether you write, research, attend meetings, manage projects, study, code, design, or handle multiple client tasks, a smart Mac workspace can reduce switching, lower visual clutter, and help you focus faster.
What Is a Custom Workspace Layout on Mac?
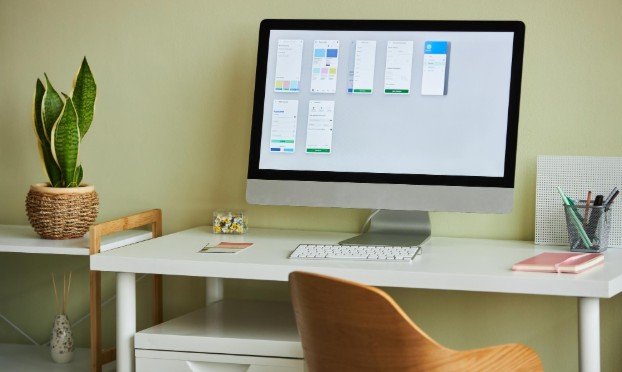
A custom workspace layout is a planned arrangement of apps, windows, desktops, and screen zones. Instead of randomly opening apps wherever they appear, you decide where each window belongs.
For example, your browser may stay in the center, notes on the right, calendar on the left, and messaging apps tucked into a separate desktop. A meeting layout may include your video call, agenda, shared document, and research tab in one clean view. A writing layout may include a document editor, outline, browser research, and reference material.
The goal is simple: your Mac should support your workflow instead of making you rebuild it every time.
Why Custom Workspace Layouts Make Mac Work Easier
Custom layouts help you create a predictable workspace. You know where each app lives. You switch less. You click less. You also avoid the common habit of keeping everything full screen, which often makes multitasking harder rather than easier.
This is especially useful if you work with multiple apps every day. A remote worker may need Safari, Slack, Zoom, Calendar, and Notes. A student may need a browser, PDF, document editor, and reminders. A creator may need editing software, files, references, and feedback windows. Custom layouts make these setups easier to control.
How to Create Custom Workspace Layouts on Mac with Built-In Tools
macOS already includes useful workspace features. They may not give you a full saved-layout system, but they are a strong starting point for organizing your desktop.
Use Mission Control Spaces for Separate Work Areas
Mission Control lets you create separate desktops, often called Spaces. You can keep one desktop for writing, another for communication, another for meetings, and another for personal browsing.
To use it, swipe up with three or four fingers on the trackpad, or press the Mission Control key. Move your pointer to the top of the screen and add a new desktop. Then drag apps or windows into the desktop where they belong.
This is one of the simplest ways to separate tasks. Instead of mixing every open window into one crowded screen, you can give each work mode its own area.
Assign Apps to Specific Desktops
If you always want certain apps to open in the same Space, you can assign them to a desktop. Open the app, right-click its Dock icon, go to Options, and choose the desktop where you want it to appear.
This works well for apps you use daily. For example, you can keep communication tools on one desktop, creative tools on another, and research apps on another. It does not create a complete custom layout, but it helps your Mac feel more consistent.
Use Split View and Window Tiling
Split View and window tiling are useful when you want two apps side by side. You can place a browser next to a document, a spreadsheet next to notes, or a reference page next to your work app.
This is helpful for focused tasks, but it has limits. If you work with three, four, or five windows at once, basic tiling may not give you enough control. That is where a more intentional layout system becomes useful.
Use Stage Manager for Task-Based Groups
Stage Manager helps group apps by task and keeps inactive windows off to the side. It works well when you want to stay focused on one project while still keeping related apps nearby.
For example, you can create a meeting group with your call app, notes, and browser. You can create a writing group with your editor, outline, and research material. Stage Manager is useful for reducing clutter, but it still may not replace a dedicated custom window layout tool if you need precise app positions.
How to Save and Reuse Window Layouts on Mac
The biggest challenge with native macOS tools is repeatability. You can organize windows manually, but you may still need to resize and reposition them later. That becomes frustrating when you use the same setup every day.
This is where dedicated Mac window management tools become helpful. Instead of dragging every window into place manually, you can build a layout system that matches how you work.
When learning How to Create Custom Workspace Layouts on Mac, think beyond one-time window placement. The real productivity benefit comes from creating layouts you can reuse for writing, meetings, research, planning, creative work, and multitasking.
Best Custom Workspace Layout Ideas for Mac Users
Focus Work Layout
Place your main work app in the center of the screen. Keep notes or references on one side and hide communication apps in another Space. This layout is ideal for writing, planning, coding, or deep work.
Meeting Layout
Keep your video call window visible, place notes beside it, and keep the shared document or browser reference nearby. Move private chats and unrelated apps away before screen sharing. This makes your desktop look cleaner and helps you stay prepared.
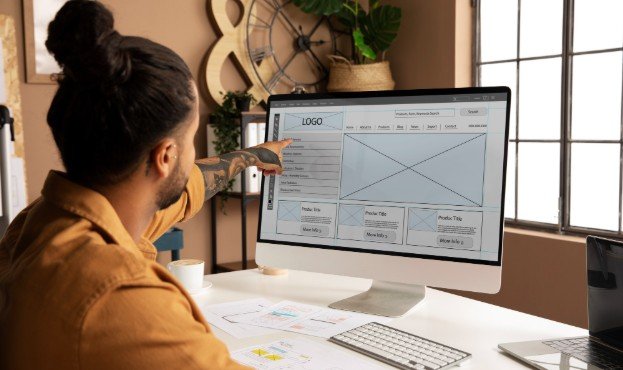
Research and Writing Layout
Use one side of the screen for research and the other for writing. Keep a notes app nearby for quick ideas, quotes, or outlines. This layout is useful for bloggers, students, marketers, and anyone working with source material.
Creative Work Layout
Place your main creative app in the largest area. Keep asset folders, references, feedback, and communication tools on the side. This works well for designers, photographers, video editors, and content creators.
Ultrawide Monitor Layout
If you use a wide monitor, divide the screen into three useful zones. Keep your active work in the center, references on one side, and communication or calendar tools on the other. Avoid stretching one app across the entire display unless the task truly needs it.
Frequently Asked Questions
1. What is the easiest way to create a workspace layout on Mac?
The easiest way is to start with Mission Control Spaces, then arrange apps by task. Use one desktop for focus work, one for meetings, and one for communication.
2. Can I save window layouts on Mac?
macOS can reopen apps and organize Spaces, but fully saved window positions often require a dedicated window management tool.
3. Is Stage Manager good for custom workspaces?
Stage Manager is useful for grouping apps by task, but it may feel limited if you need exact window placement or repeatable layouts.
4. How to Create Custom Workspace Layouts on Mac for daily work?
Start with your most repeated workflow, place the main app in the center, keep support apps on the sides, separate distractions, and use a layout tool for faster setup.
Final Takeaways
I prefer a Mac setup that feels ready before I start working. When every app has a place, I waste less time searching, resizing, and switching. A custom workspace layout gives your desktop structure without making it complicated.
Start with built-in tools like Mission Control, Spaces, Split View, and Stage Manager. Then, if you want more control, use a dedicated Mac window management tool like GridSutra to create cleaner, faster, and more repeatable layouts. Once your workspace matches your routine, your Mac becomes easier to manage and much better for focused work.