Stop Snoops: How to Password Protect Files Mac Guide
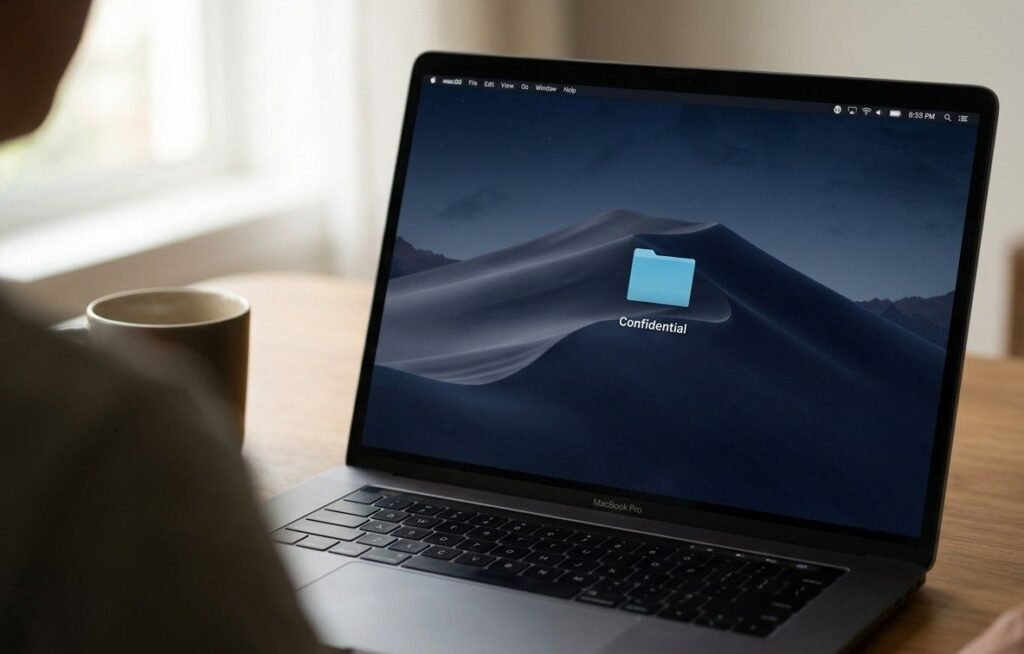
Private files on a Mac can include more than just personal photos or old documents. Many people also store tax forms, work files, client reports, banking details, school projects, and signed agreements on the same device they use every day.
If those files are not protected, anyone with access to the Mac may be able to open them. That is why learning how to password protect files Mac users want to keep private is a simple but important security step.
macOS does not have a direct right-click “lock folder” feature, but it does provide several safe ways to protect sensitive data. You can create an encrypted disk image with Disk Utility, lock PDFs in Preview, set passwords for Pages, Numbers, and Keynote files, turn on FileVault, or make a password-protected ZIP archive.
This blog explains each method in a clear, practical way.
Can You Password Protect Files on Mac?
Yes, you can password protect files on Mac, but the method depends on what kind of file you want to protect. If you want to secure a folder or multiple files, Disk Utility is the best built-in option. If you want to protect a PDF (Portable Document Format), Preview works well. If you use Pages, Numbers, or Keynote, those apps let you set passwords directly inside the document menu.
For full Mac protection, FileVault encrypts the entire startup disk. For sharing files with people on Windows or Linux, a password-protected ZIP archive can also help. Each method has a different purpose, so the best choice depends on whether you want private storage, secure sharing, or full-device protection.
Method 1: Use Disk Utility to Password Protect Folders on Mac
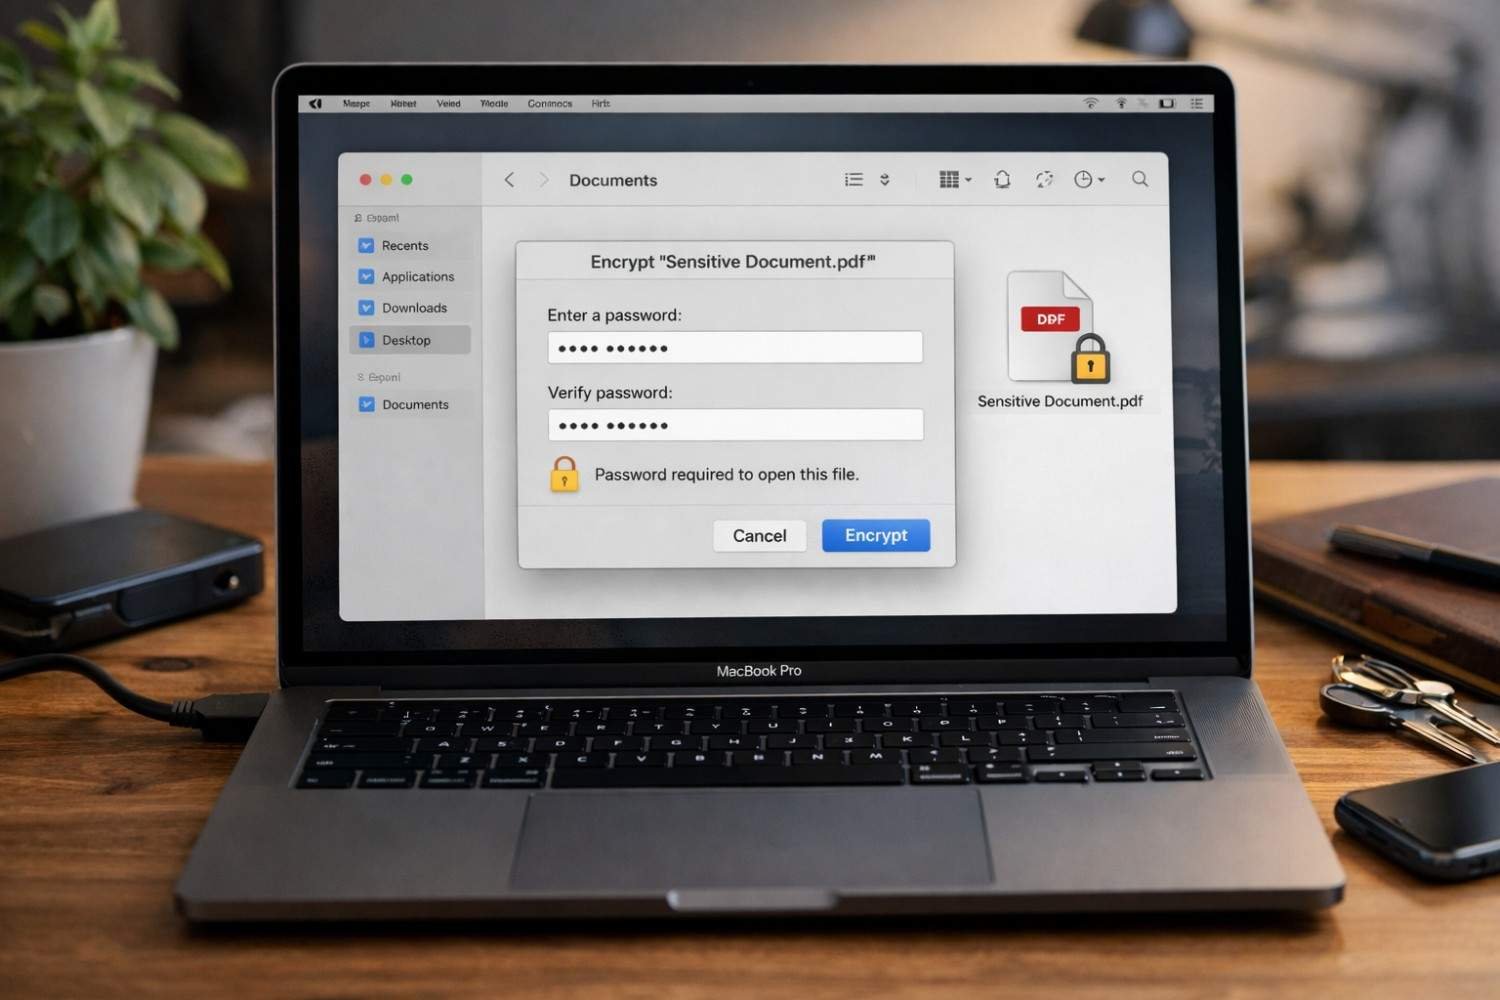
The best built-in way to protect a folder on Mac is by creating an encrypted disk image through Disk Utility. This creates a secure virtual container, usually saved as a .dmg file. Anyone who tries to open it must enter the password first.
Start by placing all the files you want to protect into one normal folder. Then open Disk Utility by pressing Command + Space, typing “Disk Utility,” and pressing Enter. In the top menu bar, click File, choose New Image, and then select Image from Folder. Pick the folder you want to secure and click Choose.
When the encryption option appears, choose 256-bit AES encryption for stronger protection. Enter a strong password, confirm it, and click Choose. If you want to add or remove files later, change the image format to read/write. Then click Save.
After macOS creates the new encrypted .dmg file, test it by opening it and entering your password. Once you confirm it works, delete the original unprotected folder. This step matters because the new protected file does not secure the old folder automatically.
When you finish using the protected folder, right-click the mounted drive icon on your desktop or in Finder and select Eject. That locks it again until the next time you enter the password.
Method 2: Password Protect PDFs in Preview
If you only need to lock one PDF, Preview is one of the easiest tools on a Mac. This works well for tax forms, invoices, contracts, resumes, legal papers, and other private documents you may need to send or store.
Open your PDF in the Preview app. Click File in the top menu and choose Export or Edit Permissions, depending on your macOS version. Select the option that says Require Password To Open Document. Enter your password, confirm it, and save the protected PDF.
This is a simple way to encrypt files on Mac when the file is already in PDF format. I recommend sending the password separately if you share the document by email. Never place the password in the same email as the protected attachment.
Method 3: Set Passwords in Pages, Numbers, and Keynote
Apple’s built-in productivity apps also support document-specific passwords. This is useful when you want to lock a report, spreadsheet, budget file, proposal, or presentation without creating a separate disk image.
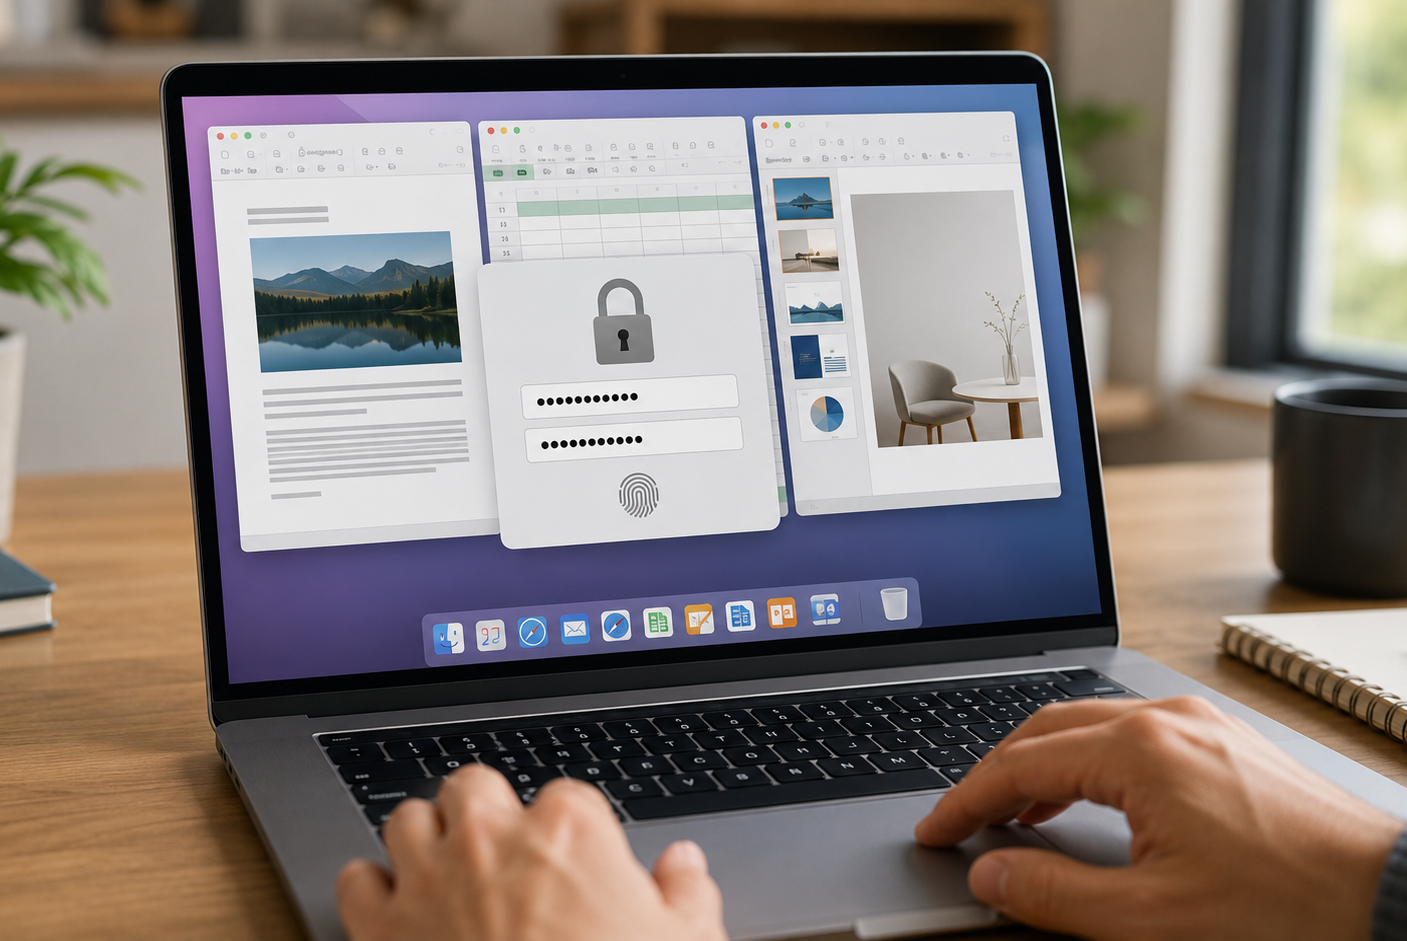
In Pages, Numbers, or Keynote, open the file you want to protect. Click File in the top menu, then choose Set Password. Enter your password, confirm it, and click Set Password. On supported Macs, you may also see an option to use Touch ID for faster access.
This method is more accurate than calling it an “app-specific password.” You are not locking the entire app. You are setting a password for that individual document, spreadsheet, or presentation.
Method 4: Create a Password-Protected ZIP File Using Terminal
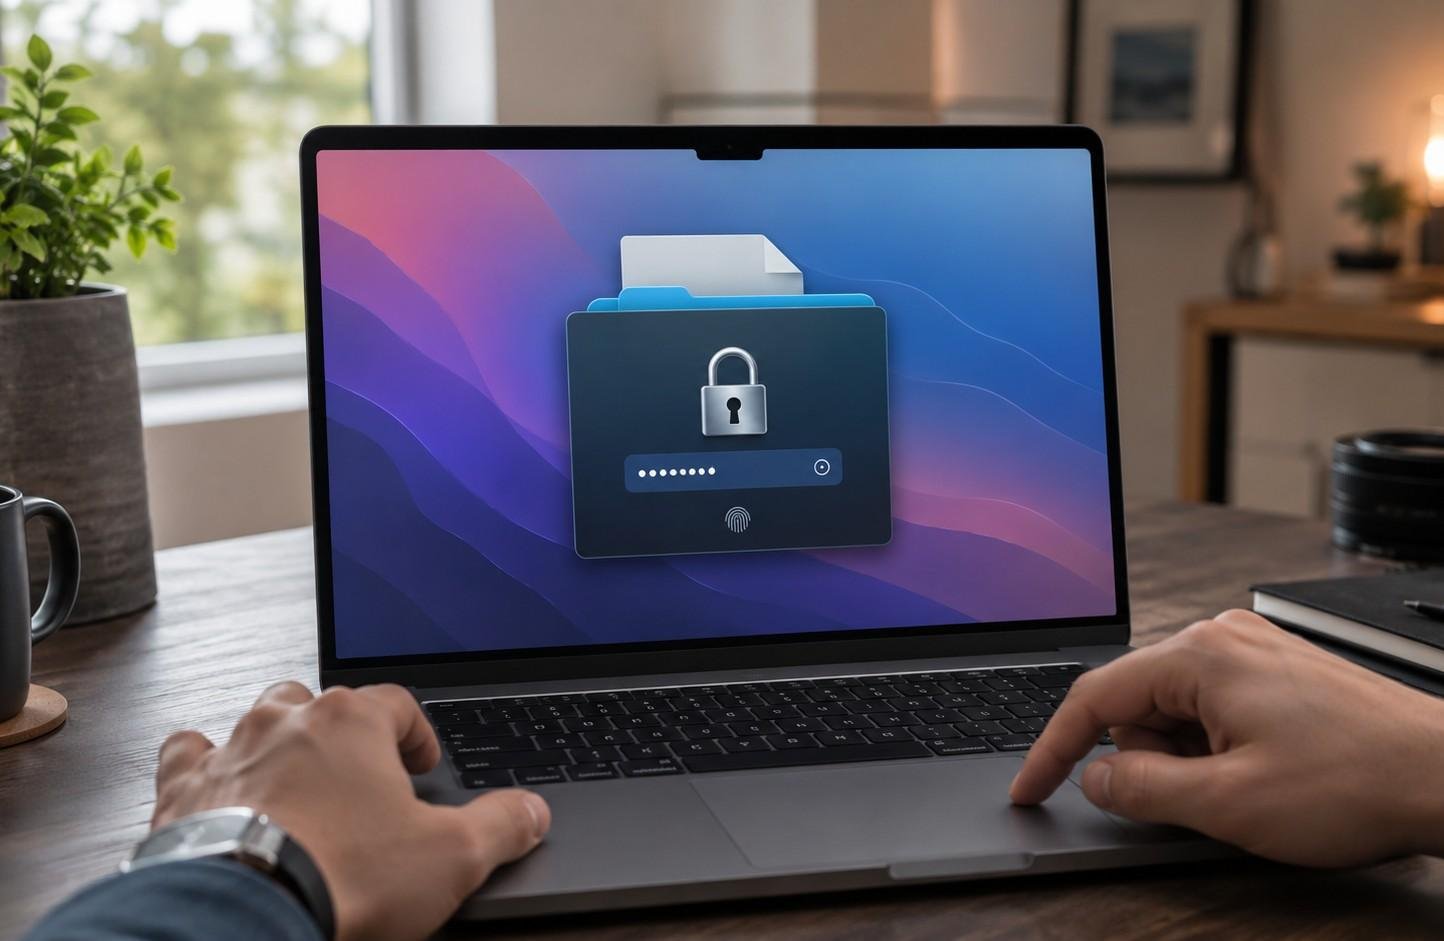
A locked ZIP archive can be useful when you need a shareable file that works across macOS, Windows, and Linux. This method is more technical, but it is fast once you understand the command.
Open Terminal from Applications and then Utilities. Type cd followed by a space. Drag the folder location from Finder into the Terminal window to automatically add the path, then press Enter.
Next, use this command and replace the folder name with your own:
zip -er secure.zip input_folder_name
Press Enter, type your password, and confirm it. Terminal will not show the password characters while you type, which is normal for security.
This method is useful for quick file sharing, but I prefer Disk Utility for long-term private storage on my own Mac. A ZIP file is convenient, while an encrypted disk image gives a better Mac-native experience for folders you open and update often.
Method 5: Turn On FileVault for Full Mac Protection
FileVault is different from the other methods because it protects your entire startup disk instead of one folder or one document. If your MacBook gets lost or stolen, FileVault helps prevent someone from accessing your data without your login password or recovery key.
To turn it on, open System Settings, go to Privacy & Security, and click FileVault. On some older macOS versions, you may find it under System Preferences and Security & Privacy. Follow the prompts and store your recovery key safely.
FileVault does not replace individual file protection. Once you log in, your files work normally. I see it as the first layer of protection, while Disk Utility, Preview, and document passwords protect specific sensitive files.
Which Mac File Protection Method Should You Use?
If your goal is to secure a folder with multiple documents, use Disk Utility. If you need to password protect a PDF, use Preview. If you work inside Pages, Numbers, or Keynote, use the Set Password option. If you need to send a protected folder to someone who does not use a Mac, a ZIP archive can be helpful. If you want full-device security, turn on FileVault.
The safest setup is often a combination. For example, I would use FileVault for my MacBook, Disk Utility for private folders, and Preview for individual PDFs I need to send.
Common Mistakes to Avoid When Locking Files on Mac
One mistake is confusing hiding with protecting. A hidden file is not the same as an encrypted file. Someone who knows how to reveal hidden files may still find it.
Another mistake is forgetting to delete the original unprotected folder after creating an encrypted disk image. The protected copy only helps if the old version is removed.
Weak passwords are also a major problem. Avoid birthdays, pet names, simple number strings, and reused passwords. A strong password should be long, unique, and hard to guess.
You should also avoid saving the password in the same folder as the protected file. That defeats the purpose of locking it in the first place.
FAQs About Password Protecting Files on Mac
1. What is the easiest way to password protect a folder on Mac?
The easiest secure method is to use Disk Utility and create an encrypted .dmg file from your folder. This gives you a password-protected container for multiple files.
2. Can I password protect files on Mac without third-party software?
Yes. You can use built-in tools like Disk Utility, Preview, Pages, Numbers, Keynote, FileVault, and Terminal. These options cover folders, PDFs, Apple documents, full-disk encryption, and ZIP archives.
3. Is FileVault the same as locking a folder?
No. FileVault encrypts your entire Mac drive, while Disk Utility or Preview protects selected folders and files. FileVault is great for lost-device protection, but it does not lock individual files after login.
4. What is the best method for secure file sharing?
For PDF sharing, Preview works well. For multiple files, a password-protected ZIP archive may be easier for Windows and Linux users. For Mac-only storage, Disk Utility is usually better.
Final Thoughts
Learning how to password protect files Mac owners use daily is one of the simplest ways to improve digital privacy. You do not need expensive software to protect sensitive folders, PDFs, spreadsheets, presentations, or personal records.
For most US Mac users, I recommend turning on FileVault, using Disk Utility for private folders, using Preview for PDFs, and setting document passwords in Pages, Numbers, and Keynote when needed. Just like learning how to speed up macOS, understanding these built-in security tools helps you keep your Mac cleaner, safer, and easier to manage. Once you understand these options, how to password protect Mac files becomes less confusing and much easier to manage.